Saturday, July 28, 2012

Fudgey S'more Brownies

So I have a new favorite food...

It is crumbly, crunchy, fudgey, chocolatey, and sticky-sweet.  Oh and its messy, reallll messy. So even more the excuse to lick your fingers clean. 

S'more Brownies.

Now, I thought there was nothing better than roasting a marshmallow by the fire, sticking it between two yummy grahams and a little too much chocolate...

Until I made these.

These, people, are  h e a v e n l y.

Replacing the chocolate squares with the fudgiest brownie you'll ever bite into (oh, and the best part is it is non-fat!) and smashing it between a buttery graham cracker crust and a roasted, ooey gooey marshmallow top is the best reinvention of the s'more to date.  

So go make them now! Find a reason to... and but beware... once you eat one, your'e going to be screaming for S'MORE!!


Ingredients:
10 sheets low-fat graham crackers, crushed finely
6 TBS butter, melted
2 TBS granulated sugar
2 boxes No-Pudge! Brownies
2 oz. vanilla yogurt
1 bag marshmallows

Directions:
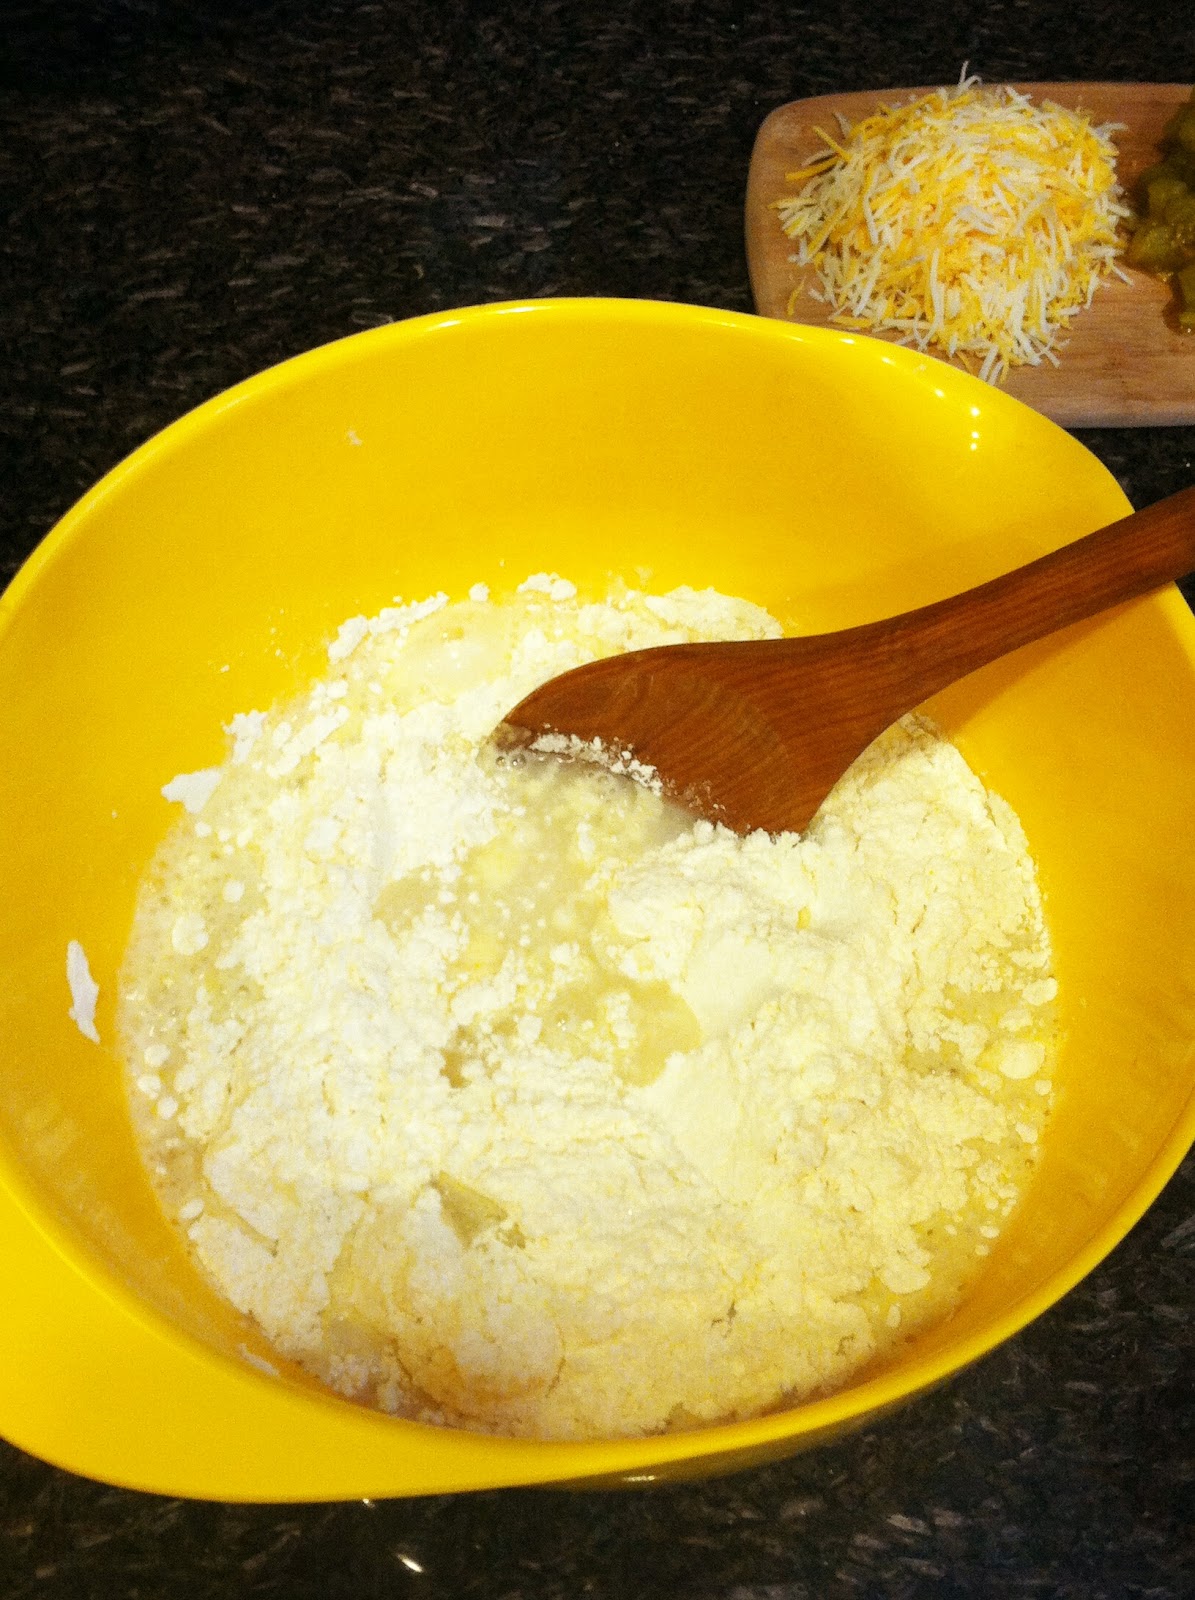
Crush graham crackers in a plastic bag until crumbs become very fine.  Melt butter in microwavable bowl.  In a bowl, add graham cracker crumbs and sugar. Pour in melted butter.


Using a fork, mix butter into crumb and sugar mix.  


In a 13x9 in pan.  Lay tin foil down flat, leaving two flaps at edge of pan to easily remove brownies when ready to eat.  Spray foil with non-stick cooking spray.  Pour crumb mixture into pan and using your hand spread and pat down to create an even crust.


Bake at 350 degrees F for 20 minutes or until brown.


While crust is cooking, make No-Pudge! fudge brownies according to package instructions.  (This is when you add two ounces of vanilla yogurt to the brownie mix and stir until combined.) 


  Once crust is done, pour brownie mix on top of crust.


Spread out brownie mix all over crust.


Bake according to back of brownie package, but double the baking time.  My brownie was done after baking for 40 minutes. 


Immediately place a row of marshmallows on top of brownies and place under broiler until marshmallows turn golden brown and poofy!


Enjoy! :) 

Wednesday, July 18, 2012

Roasted Artichokes with Garlic

Garlicky.  Salty. Artichokey.

Need I say more?

This perfect side dish could not be any easier.  These little packages of yummyness take longer to eat than they actually take to make, and peeling off each leaf of salty, meaty deliciousness is nothing but fun.  This recipe literally takes 5 steps:

Clean. Chop. Stuff.  Drizzle. Sprinkle.

Pop these babies in the oven and bon appetit.  No joke, you're going to surprise yourself.   

But seriously, these will be a winner next to any dinner.


Ingredients:
3 artichokes (1 per person so use ingredients accordingly)
4 large garlic cloves, peeled and minced
12 small garlic cloves, peeled and smashed
Extra virgin olive oil 
Kosher salt

Directions:
Preheat oven to 425 degrees F.  Gently clean artichokes under cool water. 


Chop off bottom stem and 1-2 inches off the top of the artichoke.  Cutting off the bottom will allow the artichoke to stand up straight and by cutting off the top, you are allowing the leaves to really roast and get soft.  


Peel, chop, and mince 4 garlic cloves.  Set aside.  Smash and peel 6 garlic cloves.  (Smashing the garlic clove with the side of your knife will cause the garlic cloves to come easily out of the peel and it may crush into a few pieces. That is okay!)   Stuff the whole garlic cloves (or pieces of broken whole garlic cloves) into the middle leaves of the artichoke.  I gave each artichoke 4 small whole pieces of garlic.


Take the minced garlic that you set aside earlier and divide evenly among each artichoke.  You will want to stuff the tiny pieces of minced garlic into all of the leaves.  Don't forget the outer leaves!  Sprinkle some minced garlic on top of the artichoke as well.  (It may look like a lot of garlic, but believe me, it is what makes this artichoke SO good.)

Take a large piece of tin foil and drizzle extra virgin olive oil on middle of foil.  Brush/rub it in.  Place artichoke on top of oiled spot.  


Drizzle a little more extra virgin olive oil on top of artichoke and then sprinkle kosher salt over the whole artichoke.  Wrap artichoke tightly in foil to create a little ball.  Repeat with other artichokes.  Place in a deep dish baking dish and bake for 1 hour. 


After an hour is up, carefully remove tin foil and your artichoke should be browned a tad, looking oh so scrumptious!  Enjoy this tasty treat by removing each leave and using your teeth to scrap the meat off the bottom of each leaf!  Also, if you are a butter-person, chop some garlic up and put in a small bowl with a couple TBS of butter.  Microwave until butter is melted.  This will give you a garlicky-butter to dip each leaf in!


Tuesday, July 10, 2012

Corrrrn Muffins

Crunchy, sweet corn.

Spicy green peppers.

Sharp, salty cheddar cheese.

Good ol' plain cornbread mix.

Perfection. Perfection. Perfection.

This corn bread is the EASIEST corn bread out there... and may I add absolutely d e l i c i o u s.

I'm serious people.  Who doesn't like a good side of cornbread?  The sweet, spicy, salty fluffy side dish with a nice crunchy and crispy muffin top that you could probably eat 12 of in one sitting.   Seriously, it doesn't get better.

This corn bread honestly is one of the easiest cornbread recipes out there.  I added only the tastiest ingredients to a boring ol' cornbread mix to make a side dish that anyone and everyone will love.  Dip it in some chili, eat it with some butter, or just simply devour it in one large bite...

Your'e going to go corny craaaazy.


Ingredients:
1 box favorite cornbread mix (I would suggest to get one that only calls to add WATER- I used Non-fat Krusteax Honey Corn Bread)
1 bag frozen corn
1 8-oz. container green chilis, drained
Mexican cheese made with Skim, grated

Directions:
In a large bowl, combine corn bread mix and water box calls for.  Mix just until combined.


Add corn to mix.


Open green chili can and use lid to push out excess liquid out of can in sink.  Add to mix.  Add desired amount of cheese. (I usually do 3/4 cup or 1 cup)  Combine until just combined.


Line muffin pan with cupcake holders.  I chose to do 6 large muffins but you can do 12 small muffins too.  Your choice!


Spray cupcake holders with non-stick cooking spray.  Fill cupcake holders 3/4 way full.


Bake at 400 degrees F for 22 minutes or until toothpick comes out clean. ENJOY!


Saturday, July 7, 2012

Mini Mexican Stuffed Pepper Poppers

So you all know how obsessed I am with the Bachelor and how I get together with my girlfriends every Monday night to watch the show, drink wine, gossip, and eat some awesome, tiny bites.

This week was hometown dates, so of course, my appetizer had to be scrumptious.  These episodes are getting real and good, as my app needed to be.

After thinking long and hard about what I wanted to make-besides this awesome Fourth of July cake that I will show you at the bottom of this post, just because it was sooooo freaking cool- I finally found these little baby stuffed peppers.  I saw a bag of them at the store, and couldn't resist!  They were so tiny and cute!

I knew immediately what I was going to make- Mini Mexican Stuffed Pepper Poppers!

It's a mouthful to say... and a bite-ful to eat ;)

So next Bachelor night ('cause I know most- if not all- of you are all guilty of having Bachelor nights) I encourage you to make these little crunchy, packed poppers.  They are SO easy to make, super duper healthy, and deliver a pack of punch, full of flavor.

So try not to eat all of them, or pull the gooey-ooey cheese melted all over the top.  I dare you.

Oh, and don't be afraid to pull a Chris Harrison, and announce, "Ladies, (or gentlemen) it is the final pepper".  But believe me, you won't have to wait 2 hours for that to happen.

Ingredients:
1 package frozen corn, thawed
1 medium tomato, diced
1 large zucchini, diced
1/2 yellow onion, minced
3 cloves garlic, minced
1 bunch fresh cilantro leaves, chopped
1/2 tsp chili powder
1/2 tsp kosher salt
1/2 tsp freshly ground pepper

1 cup instant brown rice
3/4 cup black beans, drained and rinsed
1 package mini red, yellow, and orange bell peppers, seeded and halved

Low fat shredded mexican cheese
1 container low fat sour cream

Directions:
Preheat oven to 375 degrees F.  In a large bowl add corn.


Add diced tomatoes, zucchini, onion, and garlic, cilantro and spices.


Cook brown rice according to package.  Add to mixture.  Drain and rinse black beans and add to mixture.


Rinse mini bell peppers.  Seed and cut peppers in half, lengthwise.

  
Stuff the peppers with a heaping amount of the corn and rice mixture.  Place on cookie sheet.


Cover peppers with aluminum foil and bake for 35 minutes.  After 35 minutes, remove aluminum foil and top peppers with cheese.


Place back in oven for 10 minutes until cheese is melted and browned.  ENJOY!


Oh, and here is my delicious 4th of July cake that I promised to show you :)  (Inspired by www.bakingdom.com)


Sunday, July 1, 2012

Nutella Banana Muffins

So after a month of hectic moving-craziness, I am finally settled in my new house.  Believe me, being away from this blog for so long was making me go bonkers, but at least now I am settled in which will allow me to make up for my slackin'!

Today was the first day in a loooong time that I was actually free.  Free from moving boxes.  Free from work.  And free from school.  So of course the solution to my "I-am-finally-free-I-dont-know-what-to-do" day was to bake!

With my limited supplies in the kitchen, I took one look at my browned bananas that very badly needed to be thrown out and knew exactly what I was going to make.

Banana muffins.

But wait a second... banana muffins seem boring.  So I looked in my pantry, praying I would have just the right ingredient to make these banana muffins perfect.

And I did... :)

NUTELLA. and lots of it.

Nutella is sooo sooo soooo good. It is good on toast, in a cookie, heck, even on a spoon, so obviously it would be absolutely amazing in these muffins.  (For those of you who don't know what Nutella is, it is a creamy, chocolate-hazulnet spread that is make from hazelnuts, skim milk, and cocoa.)

These muffins are fluffy, creamy, rich, and decadent.  Who wouldn't want a muffin like that?  So, turn on your oven, 'cause you will be wanting these in your mouths asap.


Ingredients:
2 eggs
2/3 cup granulated sugar
1 very ripe bananas, mashed
1/4 cup applesauce
3/4 TBS vanilla
3/4 TBS vegetable oil
1 3/4 all-purpose flour
1 tsp baking powder
1/2 tsp baking soda
1/2 tsp salt
2 tsp ground cinnamon
1 container of Nutella
Pecans, (optional) - I didn't use any but they'd be good with them!

Directions:
Preheat the oven to 350 degrees F.  Spray a muffin pan with non-stick cooking spray.  In a large bowl, beat together the eggs and sugar for about 5 minutes until light and fluffy.


Mash bananas with a fork in a small bowl.


Add bananas, applesauce, vanilla, and oil to sugar/egg mixture and beat until combined.  In a separate bowl, combine flour, baking powder, baking soda, salt, and cinnamon.


  Slowly add the flour mixture to banana mixture, beating just until combined.  Using a spoon or cookie dough scoop, add mixture into each muffin tin about 3/4 the way full.


For the Swirly topping: (my fav!)

Dollop a heaping 1/2-1 tsp. on top of each muffin.


Repeat with all muffins.


Using a toothpick, swirl the Nutella all over the muffin batter.


To fill the muffin with Nutella:


Take a teaspoon and scoop out part of muffin mix.


Drop a dollop of Nutella (about 1/2 a heaping teaspoon) into middle of muffin.


Cover the Nutella with the teaspoon of batter you removed.


Repeat with all muffins.  Bake muffins for 20 minutes or until browned on top and come out clean with a toothpick.

Wallah! Look at these delicious muffins...

Swirled top muffin:


Nutella-filled muffin: